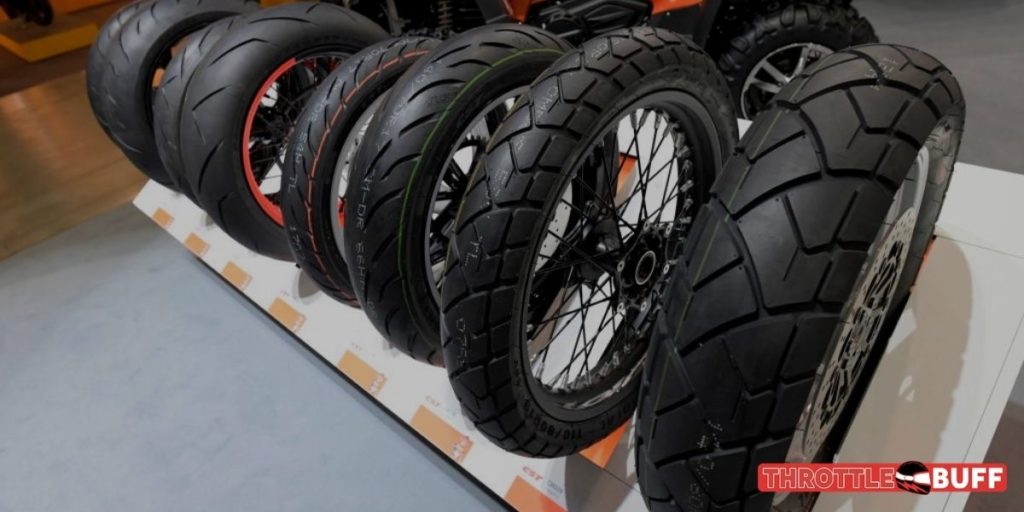
If you are a bike lover and love to ride a motorcycle, then there are few things that you cannot avoid doing. One of these things is changing the tire of your motorcycle. While most people would like to leave this task to a professional technician, you can choose to do it yourself to save both time and money in the process of doing so. Changing the tires on your motorcycle is not difficult if you have the proper information and tools to complete the task at hand.
Unfortunately, most riders have never considered how simple it is to change their tires rather than relying on a professional to do so for them.
Even if they have a general notion of how to go about changing the tires on their motorcycles, the real issue may be gaining access to the machines that are specifically developed for this purpose.
You should not let any of the obstacles mentioned above stand in the way of your ability to change your motorbike tires in an emergency, though.
It is because the entire technique is simple so that anyone may utilize it to complete this activity. Using the instructions in this article, you will be able to change your motorbike tires in only ten simple steps.
10 Steps for Changing Motorcycle Tires
Step 1: Remove Schrader Valve (also known as the American Valve)
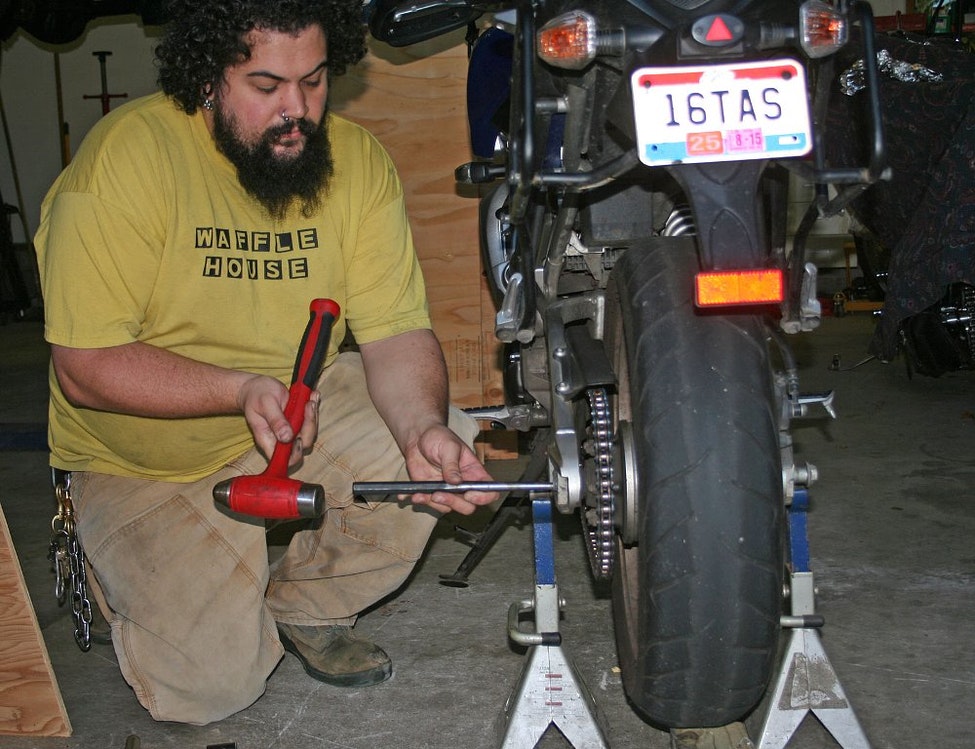
The Schrader valve is used to inflate the tire. Thus, the valve is vital in maintaining constant tire pressure. The good news is that these valves are widely compatible and reasonably priced.
Also, remember to replace them whenever you change your bike’s tires. To remove the Schrader valve, you need a special tool. The tool is carefully put into the valve to remove it while letting air out of the tire. Removing the tire valve deflates it, making your job easier.
Step 2: Break the Tire Bead
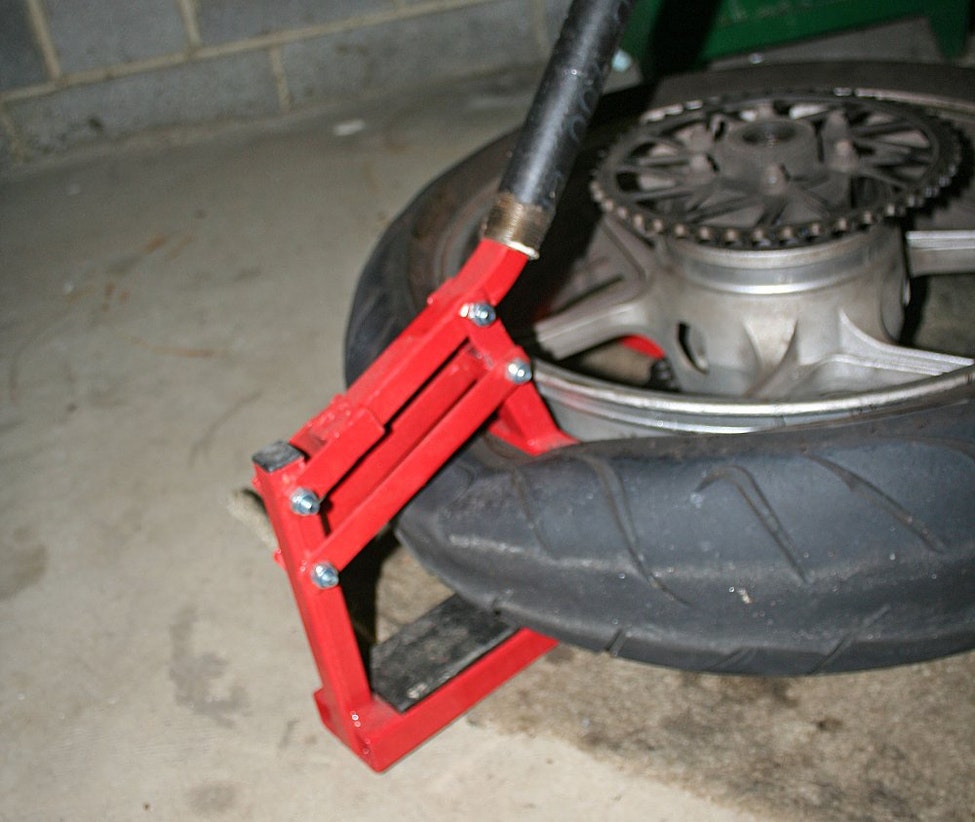
After defeating the tire, break the bead. As you may be aware, the tire bead wraps around the rim to secure the tire. The rim secures the tire in a groove around the wheel.
The rim maintains the tire in place once inflated. Therefore the inner tube is unnecessary.
Breaking the bead on a tire can be difficult without the correct equipment and machines. It implies you’ll need to find specific tools or devices to help you.
If you don’t have the necessary equipment, you can try jumping on the wheel or using a large object to loosen the beads. If you want to change your motorbike tires, you will never run out of possibilities.
Step 3: Preparing to Lift Your Motorcycle Tire
Loosening the tire beads sounds like the most difficult process requiring both strength and technique. But that’s not even the end of it.
It’s merely the start of a process that leads to more significant stages. That said, the third step in changing a motorbike tire is to take the tire off its wheel.
It is a difficult step that makes most motorcycle owners sweat. To prepare for the next steps, you will need to sweat even more and flex your muscles when raising the tire.
First, you must use rim guards unless you want to risk damaging them.
The rim protectors are used if your bike’s wheels are made of soft metal alloy rims that bend easily when under intense pressure.
Clip the guards on the rim, especially where you will place the tire irons. Apply a lot of tire-fitting soap in every part or around the rim to lubricate the entire tire.
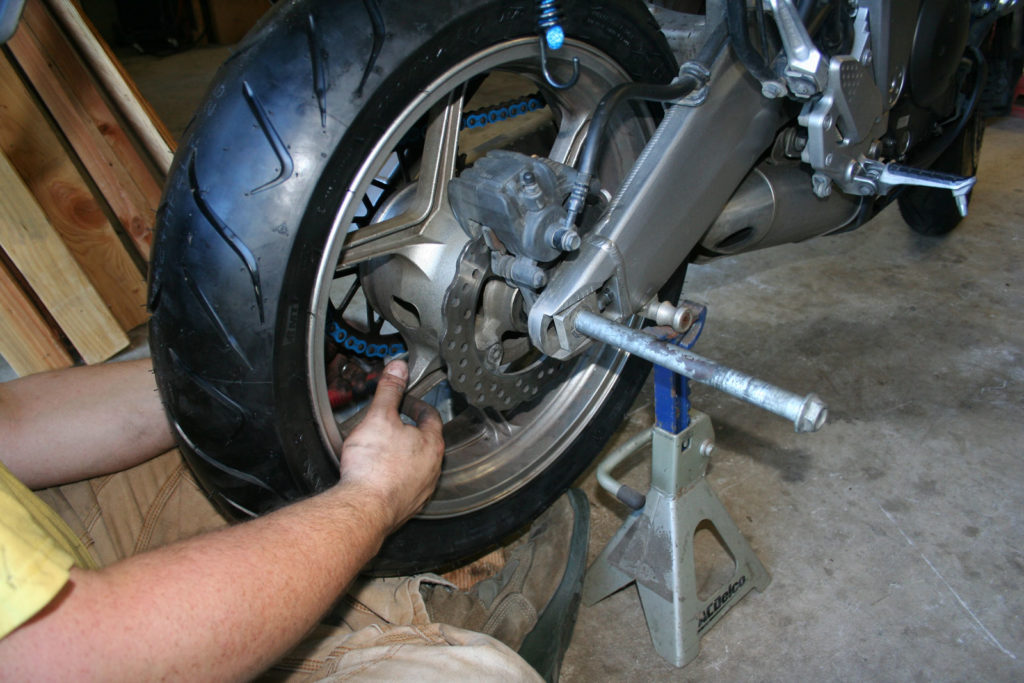
Step 4: Lift The Tires Off The Rims
Important procedure when changing a motorbike tire. In essence, this phase requires extreme caution and focus.
Any slightest error might ruin the rim and the tire. Begin by elevating the tire with three irons between the tire and the rim.
Start with the closest valve on the tire before going on to other regions. Push in the opposite end to make room for the first iron.
Put one tire iron on the valve side, pulling the tire off the rim. Locate the second tire iron or the lever in the wheel’s center.
Place the second lever a little distance from the first one. Repeat with the third lever, taking care not to damage the tube, tire, or rim.
When all three levers are in place, begin raising the tire off the rim. You will be surprised at how simple the process is.
Step 5: Past The Rims
Everything should be falling into place right now, much to your satisfaction and the initial effort. It doesn’t imply you stop, but keep going until the tire is well beyond the rim.
To do this, keep elevating the wheel until you are halfway around the tire.
Lifting the tire with the three tire irons may need a lot of concentration and ability. Every time you change positions, lift the preceding one off the rim.
The fundamental goal is to lift a larger tire from the rim to make it easier to remove. After going halfway around the wheel, you can simply take the tire off the rim.
Step 6: Remove the Inner Tube
Your tire is now off the rim. But you should know how to handle an inner tube. Inner tubes are sensitive and might be damaged if not handled carefully. In this scenario, gently take it out.
Just make sure the valve is pressed into the tire before reaching for the inner tube. Gently lift it to prevent harming it. It will safeguard it from damage during the rest of the motorbike tire-changing process.
After removing the inner tube and inspecting it, keep it away from the rim until it is time to replace it.
Step 7: Level Up The Tire Towards You
After completing stages 3, 4, and 5, this step should be easy and quick. Everything has been simplified for you, so all you have to do is lift the tire off the rim and towards you.
So, what do you do? The solution is simple: extend a tire iron or two beyond the rim and pull the tire towards you.
This way, you can lift it cleanly from the rim, just like you did when changing the tire. The difference is that this process is fiddly but manageable.
After working halfway through the rim, spin the wheel to the other side and remove the rim away from the tire.
It’s quicker and easier if you brace the tire against the floor before lowering the rim.
Step 8: Refitting the Tire
Here, you can start preparing the final step of changing the tire, known as “refitting.” As in the beginning, make sure you have the tools and the new tire to replace the old one.
Before you start, look around the new tire to determine the rotation direction (DOR).
At the same time, look for one or two little dots that should help you reinstall the tire. The dots are colored blue, yellow, orange, and other colors to help you notice them on the wheel.
These dots not only assist you in determining the wheel’s rotation direction and help you identify the tire’s heaviest area. This element is supposed to be placed opposite the valve to balance the valve’s weight.
Step 9: Replacing the Tire
After determining the direction of rotation for the tire and wheel and where the dots are positioned, you can begin refitting the tire on the wheel. It is the reverse of removing the tire off the rim.
You can make this process go as quickly as possible if you know what to expect from the beginning to the end. Reinstall the valve before inflating the tire. You can also repair the inner tube if it is damaged.
Step 10: Inspect the Tire
After changing your tire, you may find that it does not keep the proper pressure. So, make sure the replacement tire can hold the needed level of pressure.
Also, check if the same tire is correctly balanced or reseated. Before rebalancing the wheel, remove any old wheel weights.
Conclusion
We hope at this time you are pretty sure that you can change the tire of your motorcycle. The steps mentioned above will help you change the tire successfully in any given situation. Ride safely!