Whether it is a motorcycle or a car, these days they are incredibly complex machines. Their complexity involves interconnected systems and difficult to understand mechanisms. The work of vehicle professionals is increasing day by day.
However, in regards to every vehicle, motorcycles are comparatively simpler. Motorcycles have smaller engines and lesser parts, they are easier to maintain and work on.
Working on your motorcycle is a perfect way to develop your mechanical aptitude and to start with it, you must change the oil first.
Before you move ahead to change the oil of your bike, check the owner’s manual, you will get every information about your motorcycle in it. Carefully read the oil changing section, that will guide you best by knowing which oil is best, what filter must be used and how often you must change it.
Here in this write-up, you will read about the complete process of “How to change motorcycle oil”?
Supplies You Would Want To Change Motorcycle Oil
Here are few supplies that are necessary to change motorcycle oil:
- A bike stand to place your bike upright and stable while you work on it.
- Gloves for the safety of your hands
- A drain pan
- Stable funnel
- Oil filter
- Right oil that is suitable for your bike
Steps to Change Your Motorcycle Oil
Follow the below steps to change the oil.
1. Warm Up Motorcycle’s Engine
If your bike’s engine is a little warm-up, it becomes easier to change the oil. So always plan to start after you run the engine for some time. Some bike manuals will ask you to warm up your motorcycle at an operating temperature which means you must ride it for 30 to 40 minutes before you change the oil.
For air-cooled bikes, it is recommended to not start the bike, instead, let it sit idle for 25 to 30 minutes, otherwise it increases the risk of damage to the engine.
2. Cleaning
Now you have to set your bike on stand, so that it remains steady and stable while you work on it. Get a rag and then wipe down the engine area towards the oil filter and drain plug.
3. You Need to Drain Old Oil Now

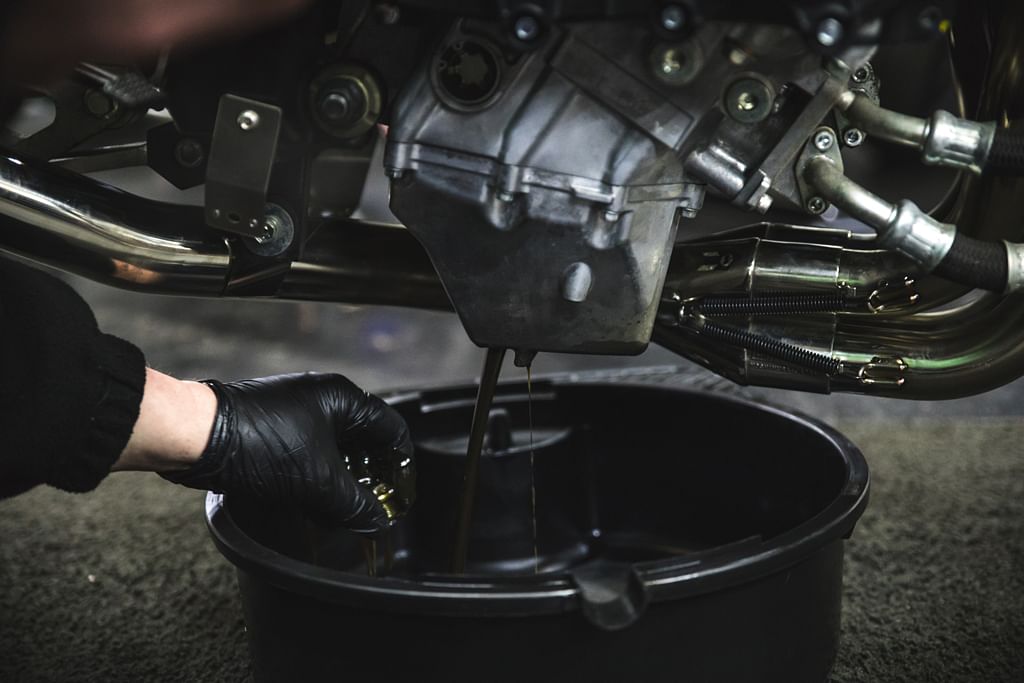
Now, it is time to take out old oil from the engine. To start the step, get a drain pan and place it under the drain plug. Now crack open the plug and unscrew the plug with your hand. Do not forget to hold your arm, to avoid spilling oil all over yourself. Ensure all oil is drained into the drain pan.
4. Remove Old Oil Filter
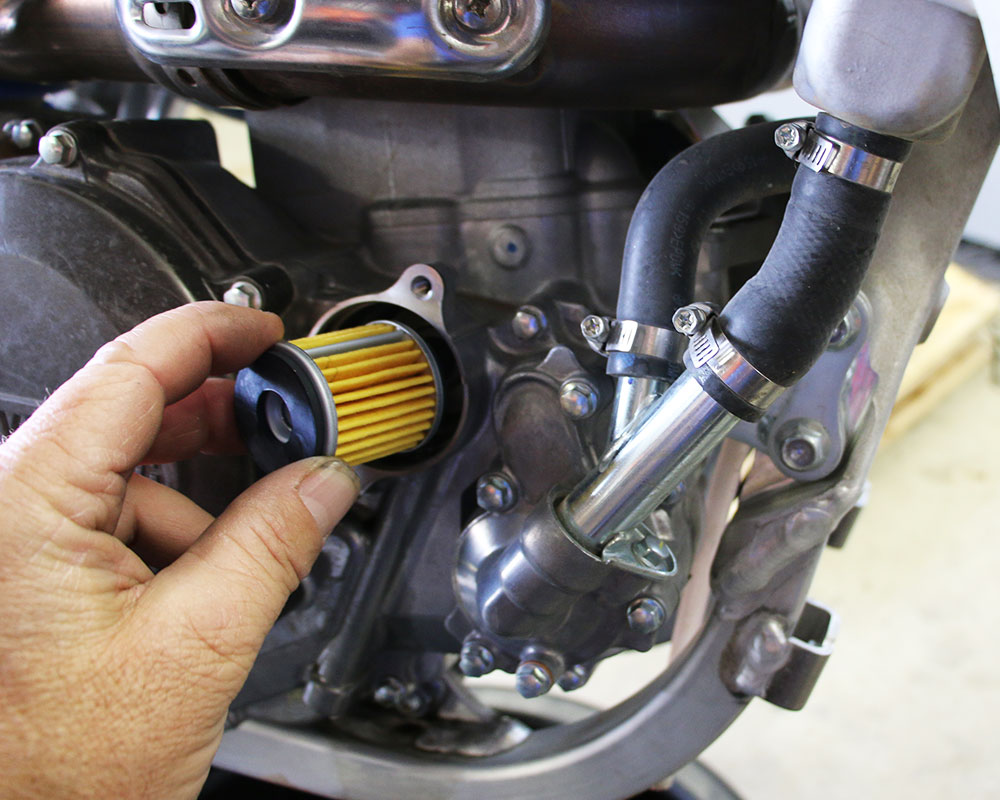
Once the old oil is drained completely, it is time to change the old oil filter. Get a strap wrench or an oil filter wrench, that helps you to loosen the filter then unscrew it. Pour the remaining oil in the filter into the drain pan.
5. Fix New Oil Filter

Now to install a new filter, you must apply an oil to the O ring of the filter from yoru drain pan. The oil the filter to smoothly slip into its original place and make sure it is a good seal. Also, direct applying of oil to the filter will help your engine to avoid getting dried up when you start your engine. You have to fix the filter with your hands and turn it properly until you feel resistance. Then, it is important to turn the filter half a turn more to ensure its smoothness and tight seal. Also keep in mind that over tightening of filter may damage your engine, so avoid that.
6. Add Oil

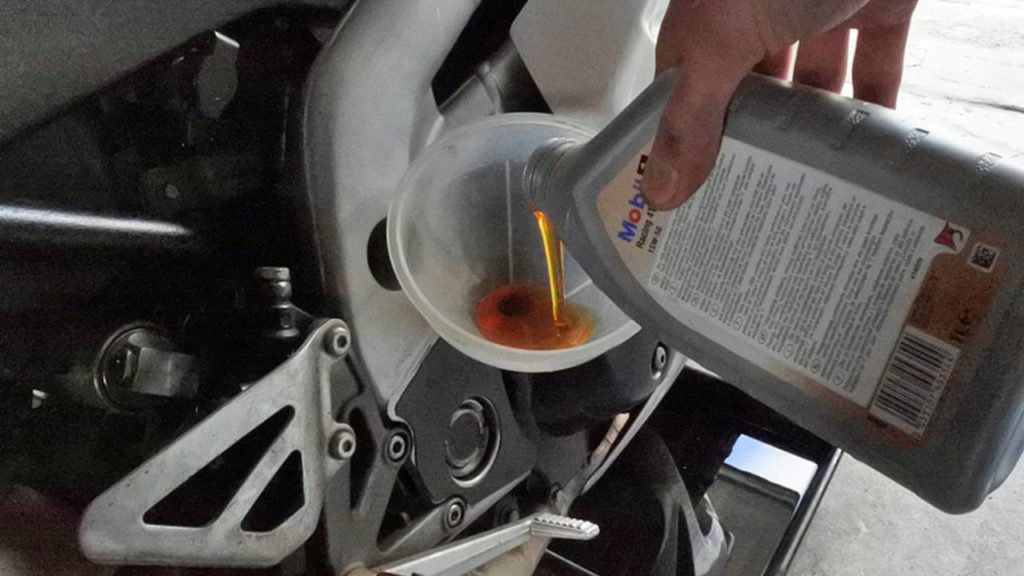
Before you pour the oil, you must check the manual for what kind of oil you need for your bike and how much you need to add.
7. Install Drain Plug
The drain plug that you removed in the third step, now you have to install it back. Place the drain plug back to its place. The most important thing is snuggling the bolts in by hand, once you have done this now tighten the plug with the help of a wrench. The best way to tighten the plugs is using a torque wrench.
8. Check Your Engine
Once you have completed the above steps, now check your work. Start your engine and let it sit idle for a few minutes.
You are done with the job.


