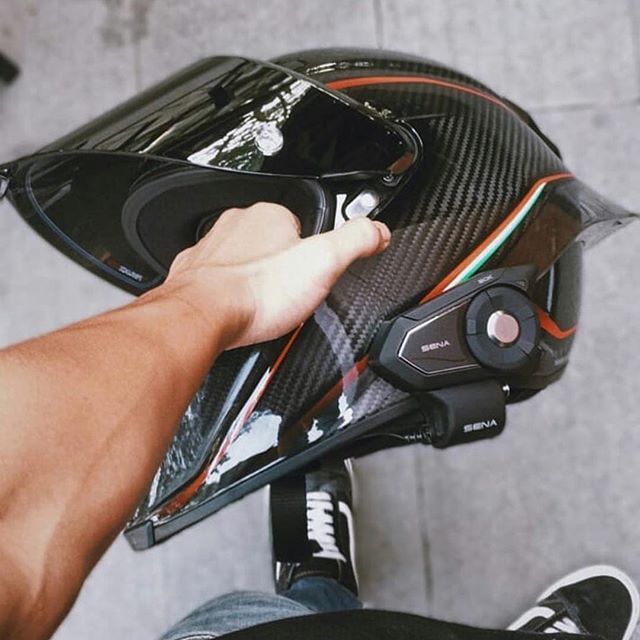
Motorcycle Intercoms have become very popular lately. It is near impossible to talk to your buddies when you are riding in a group. Intercom devices make it possible to do so.
While there are a lot of Intercom options available in the market. We have covered almost all the famous motorcycle intercoms in our articles.
But, for now. Let’s just assume that you have already got one and to the installation part.
Installing An Intercom In Motorcycle Helmet
Usually, most motorcycle intercom units consist of a microphone, speakers, and the main intercom device, Few new Intercoms also come with an external adapter that houses the WiFi module.
Let’s get to the installation part.
1. Inspecting The Helmet
Helmets come in different shapes and sizes. So, you have to check if your helmet can fit in all the parts of the intercom without causing any discomfort. Also, make sure your helmet padding has speaker pouches on both sides of your helmet.
2. Remove The Padding
Now that you know, that your helmet has enough space to accumulate the speakers and microphone. Start by removing the internal cheek pads of your helmet. Check if your helmet’s cheeks pads are large enough to fit the speakers.
3. Fitting Speakers
Usually, intercom speakers are of two types. One that comes with adhesive and others that have a velcro on their back side. According to what you have available, insert the speakers in speaker pouches of your helmet padding.
Sometimes, speaker pieces can be a little larger than the pouch size. In that case, you will have to make cuts in your padding accordingly and fix the speakers with adhesive or velcro.
If your helmet doesn’t come with a speaker pouch. Most intercoms come with adhesive Velcro mount. You can put the Velcro mount to the side of your helmet and stick the speakers to them. Also, use speaker covers if they come with your Intercom device.
Note: After all the fitting, wear your helmet and listen to the music and see if speakers are aligned to your ears properly. Make adjustments if necessary.
4. Attach The Intercom Mount
Most high quality intercom devices come with 2 types of mounts.
- Clamp Mount
- Adhesive Mount
Firstly, slide your intercom mount to the side cheek area, between the padding and the outer shell of your helmet, and fix it. If there is any lose space, use the adhesive rubber spacers that come with the Intercom unit.
If you have an odd shaped helmet, you can choose to go with the adhesive mount.
4. Attaching The Microphone
Before attaching the microphone, you will need to see if there is enough space in your helmet in the chin area to accommodate the microphone. To make sure that your mic is attached near the chin area, measure the length of the microphone and make a marking and fit the microphone accordingly on your helmet.
Some companies like Sena also provides Velcro mount to fix the mic on the inside of your helmet. Make sure that the microphone is directly in front of your face and the correct side of the microphone is facing your mouth. So that the audio reception is clear.
5. Hiding The Wiring
After you have successfully installed all parts of your intercom. Remove all the padding, and hide all the wires under the padding. Reattach the center liner and cheek pads.
This is the most important part because wires should not come in your way when you are wearing or taking off the helmet.
6. Put On The Main Module
Put on the main Intercom Module on to the mount and enjoy music, and talking to your buddies while you ride.
That’s it. You are ready to go!

How Important Are Intercoms?
There’s no denying the fact that motorcycle intercoms are becoming more popular day by day. And they have become so popular among group riders for obvious reasons.
You want be able to talk to your friends while you ride. Otherwise, it just feels like riding solo.
Apart from that, Intercoms allow you to listen to music, take calls hands-free, use voice commands to get directions without taking out your phone every time.
Most importantly, it contributes to your safety while you ride. According to US Department of Transport, the number of accidents involving motorcycles is way more than that of accidents involving cars.
The risk of getting involved in an accident can be reduced significantly when you can perform all the required actions without taking your hands off the handlebar. Motorcycle Intercoms are made just for that.
If you are new to the market and need help choosing and Intercom for yourself. You can pick one up from Cardo or Sena. Choose the best one that suits your requirements.
Conclusion
We have discussed the importance of Intercoms and how to install them on your helmets. Installing an intercom is fairly easy task. Most companies provide installation manual with their devices. However, we have explained it in detail.
You can refer to the video given below if you would like a visual tutorial.


