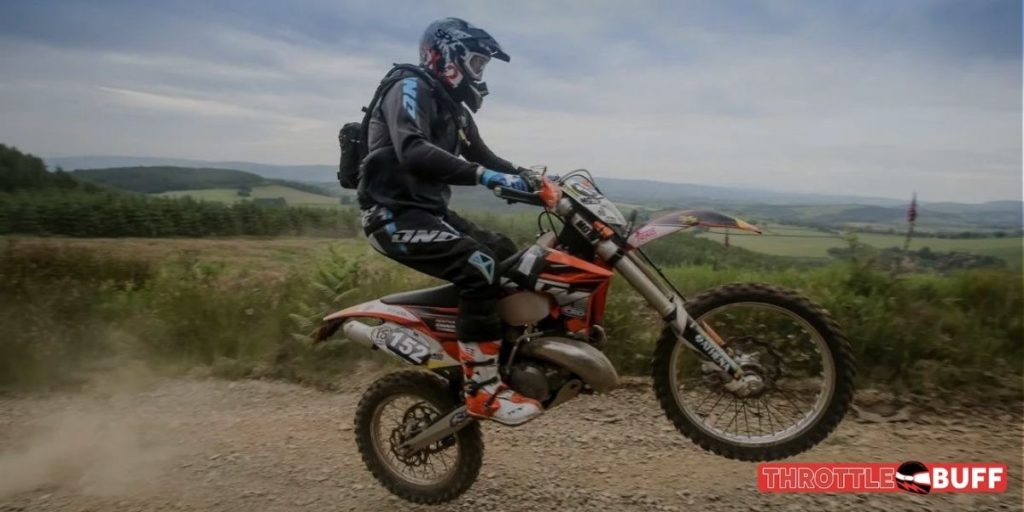
Adjusting the dirt bike suspension is one of the best upgrades a rider can make to their bike. It’s a tremendous help to know how to alter your dirt bike suspension setup to suit the terrain you’re riding that day.
Paying a suspension specialist to do it for you is a waste of money. Please leave it to the pros.
To do it right, ride the same piece of terrain after making the adjustments to feel the difference in handling and make any necessary adjustments. That is impossible for a technician to accomplish in his workshop.
What is the difference between compression and rebound damping?
As the wheel travels upward, compression damping helps the suspension absorb the bumps.
On the downhill stroke, rebound damping aids the suspension in returning to its usual position in a smooth, controlled movement. It is possible to fine-tune the suspension to fit varying terrain, rider weight, and riding styles by setting the dampers to modify the hydraulic resistance.
Adjusting the Front Forks
Clickers are the compression and rebound damping adjustments. On most motorcycles, the compression adjuster is placed around the top of the fork leg. The letters S & H, which stand for Soft and Hard, will be stamped next. The air bleeder is the other screw.
A screwdriver with a flat blade is required.
The downward (compression) motion is hardened by winding the clicker clockwise towards H.
You can soften the downward (compression) action by winding the clicker anti-clockwise towards S.
It’s crucial to make little modifications, usually two clicks at a time, and then go for a ride on the same trail or track to see if there’s any difference. On most bikes, the rebound adjuster is placed at the bottom of the fork leg. This knob controls the speed at which the fork returns to its extended position.
Slow the rebound speed by winding the clicker towards the H. The rebound speed can be increased by winding the clicker towards the S.
The compression clicker is near the bottom of the fork leg on some KTMs, whereas the rebound clicker is at the top. Increase damping by turning the clicker clockwise, and decrease damping by turning it counterclockwise.
Screw clockwise as far as it will go, then back 18-20 clicks (according to your bike’s handbook) to return to the usual adjustment. At the top of the fork is the rebound clicker. It’s a black knob that you may crank clockwise to enhance damping and counterclockwise to decrease damping.
Screw clockwise as far as it will go, then back 15-20 clicks (according to your bike’s handbook) to return to the usual adjustment. Turn the nut behind the damper knob at the top of the fork to modify the fork spring preload on a KTM. Preload is increased by rotating clockwise and decreased by turning counterclockwise.
The damping is unaffected by changing the spring preload, but you should also increase the rebound damping if you raise the spring preload. It is critical to make the identical adjustment on both fork legs at all times.
Adjusting the height of the fork
Around your fork legs, around 5mm down from the top, there is a line. The standard height is this. Make incremental height adjustments of 2mm at a time. The bike will turn faster if the fork leg is raised in the triple clamps, losing high-speed stability.
Lowering the fork leg in the triple clamps will slow down the bike’s turning and make it seem more stable. Loosen the clamping nuts on the triple clamps and slide the fork leg to the desired position to modify the height.
How to Remove the Air from Forks
It’s critical to regularly bleed the air out of your forks if you want them to perform correctly. Ideally, do it after each ride. At the top of the fork leg, adjacent to the clicker screw, is the bleed screw.
You may hear some air escape if you spin the screw counterclockwise a few times. Because it’s an aluminum screw, don’t tighten it too much. It would be best if you did it with the front wheel off the ground.
On Linkage Suspension How to Adjust the Rear Shock
Compression Adjustment
A low-speed adjustment and a high-speed adjustment are available on your rear suspension.
The compression adjustments are placed near the reservoir at the top of the shock. On lesser strikes, the low-speed adjuster will affect how rigid the suspension is. It’s the 14mm nut’s flat blade screw in the center.
The movement of the shock in compression, not the bike’s speed, is what high and low speed refers to. The 14mm nut on the outside is the high-speed adjuster. It will have an impact on how rigid the suspension is for heavier impacts, such as jumps.
Twelve clicks is an excellent starting point for your low-speed adjustment. Stop turning the screw in when you sense resistance. It is the value of zero. If you push it past 0, the shock body will be damaged.
Count the clicks as you back the screw out counterclockwise until you reach 12. It is now adjusted to the regular setting. Because the high-speed adjuster nut lacks clicks, you must count the turns.
Stop after turning the 14mm nut clockwise in until you feel resistance. It is the value of zero. Again, don’t try to force it. Back the adjuster out two full rounds counterclockwise. Count in half-turn increments. It is now adjusted to the regular setting.
Adjustment for Rebound
On the right side of the bike, under the swingarm, is the rebound adjuster. Like the compression adjuster, it’s a little flat blade screw. Screw it clockwise until resistance is felt. It is the value of zero.
Count the clicks as you back the screw out counterclockwise until you reach 12. It is now adjusted to the regular setting.
If the back of your vehicle seems excessively stiff during a trip, turn the low and high-speed adjusters counterclockwise to soften it. Turn the adjusters clockwise to strengthen the shock if you think it’s too soft in the back.
How to Adjust the PDS Rear Shock (KTM) Suspension
The bottom mounting of the shock is fixed directly to the swingarm in PDS suspension, as opposed to linkage suspension. The shock is attached to the linkage system in linkage suspension. The clicker adjusters function similarly to the linkage suspension adjustments.
Adjustment of Compression
The compression adjustments are placed near the reservoir at the top of the shock. The low-speed adjuster is the central screw, whereas the high-speed adjuster is the nut that surrounds it. The rebound adjustment is placed above the swingarm, at the bottom of the shock.
- Screw the clickers clockwise to tighten the suspension (or lower the rate of rebound).
- Screw the clickers out counterclockwise to soften the suspension (or increase the rate of rebound).
- Screw the clickers in, then back them off 15 clicks (according to your bike’s handbook) to restore typical low-speed adjustment settings.
- To return the high-speed adjustment to its original settings, turn the nut clockwise as far as it will go, then back off one full turn counterclockwise.
Adjustment for Rebound
The rebound adjuster is placed above the swingarm, at the bottom of the shock. It’s the screw with the flat blade in the middle.
Increase damping by turning the screw clockwise, and decrease damping by turning the screw counterclockwise. The standard adjustment is 24-25 clicks counterclockwise (according to your bike’s handbook).
What you should know about sag
There’s some discussion over whether you should measure rider sag while sitting or standing! So here the question arises: do you want to take a seat, or do you want to stand? Although we should all be standing at all times, not everyone does. Accept your riding style and be honest with yourself. You can always change your mind later.”
Yes, whether you sit or stand, your body weight remains the same. On the bike, however, sitting or standing shifts your weight distribution, which is why there is a difference.
When many riders first purchase a motorbike, they set the sag and never adjust it again. Sag fluctuates a lot depending on the temperature, the season, and how many cheeseburgers and beers you’ve had in the last week! We all know that metal expands and contracts in response to temperature changes, but most riders are unaware that sag and preload are also affected.
In an ideal world, you’d check sag before every ride, but without sophisticated equipment like the Motool Digital Sag Scale or a gang of pals to help, that’s not realistic. Check your sag at least once a season or whenever you change your oil.
Conclusion
If all of this seems complicated, remember that screwing in clickers clockwise stiffens the suspension, and screwing out clickers counterclockwise softens the suspension on your dirt bike.
The trick is to make modest tweaks while riding at the track or trail, then ride the same terrain again to notice the difference in handling.
If you buy a secondhand bike, it’s a good idea to reset the settings to factory defaults before fine-tuning to your weight and riding conditions. It’s likely to be set to the prior owner’s weight.
It was the case with my KTM, which was set for a much bigger rider than myself. If you’re not sure, look up the settings in your bike’s manual.


